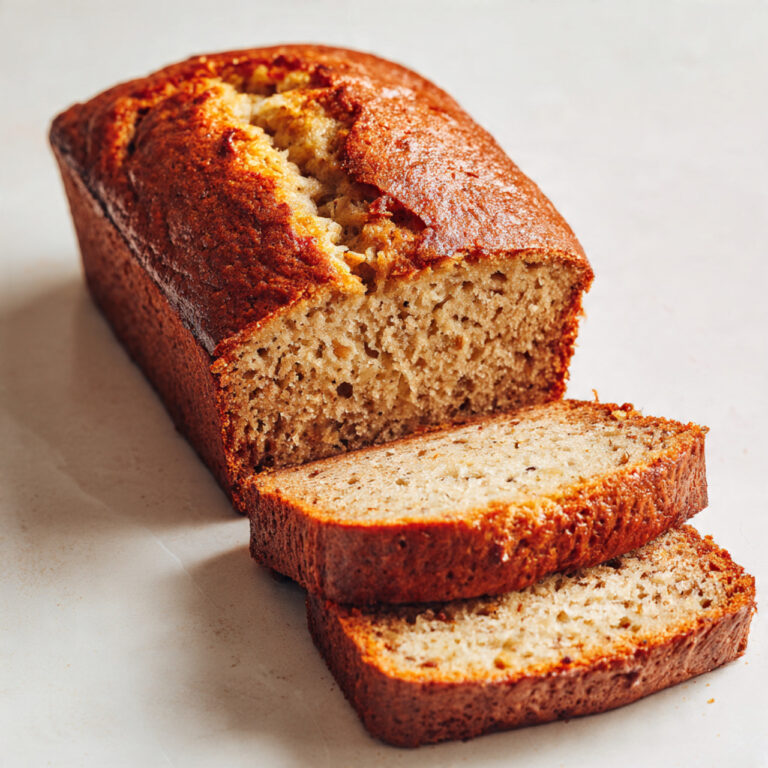
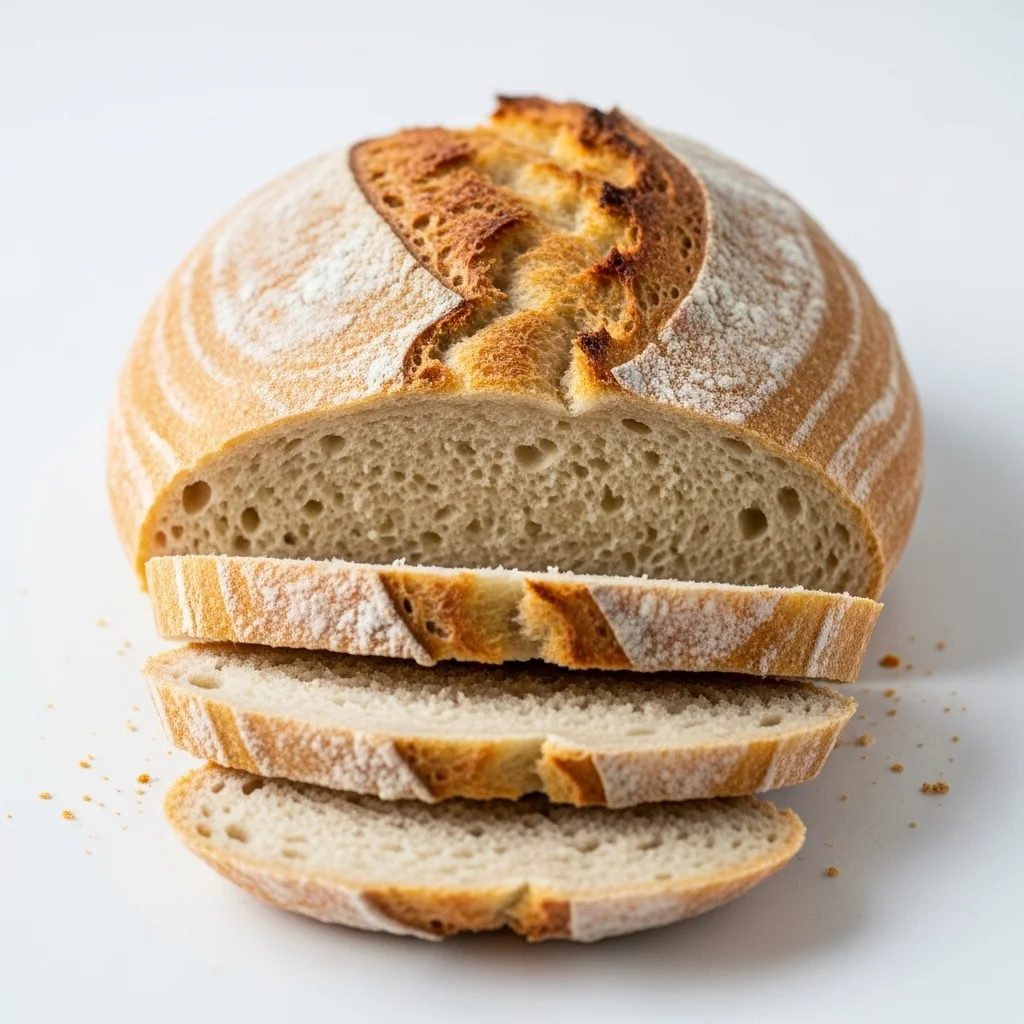
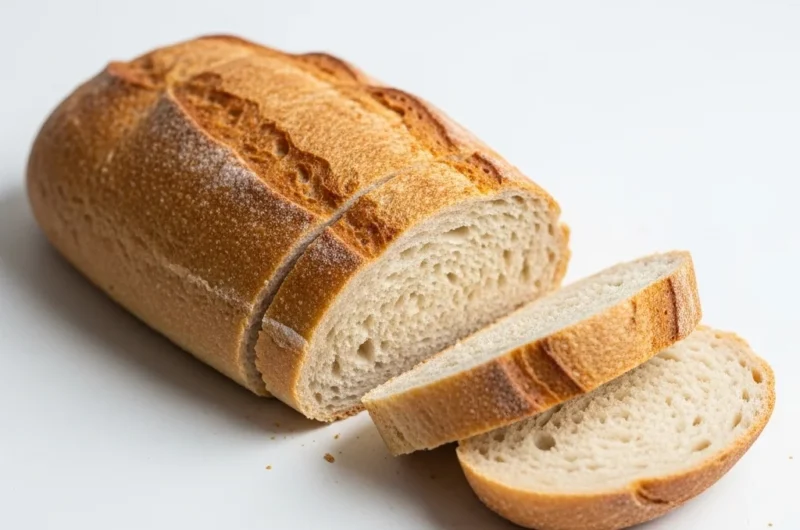
Keto Bread
Do you ever miss soft, warm bread while trying to keep meals simple and low-carb? This recipe is a cozy answer to that feeling. Keto bread is made with everyday pantry items that come together into something comforting and sliceable. It’s gentle enough for busy evenings, steady for family breakfasts, and especially nice on cold nights when you want something warm from the oven. I usually mix it up while dinner is finishing, letting the smell fill the kitchen. This loaf fits into real routines without extra stress, and it’s easy to make again when the week feels long.
Why You Will Love This Recipe
Do you want bread that feels homemade without eating up your whole afternoon? This loaf bakes quickly and doesn’t ask for fancy steps or special tools. The flavor is mild and comforting, which makes it easy to pair with meals or snacks. It’s freezer-friendly, so leftovers never feel like a burden, and it reheats well for quick breakfasts. I like how flexible it is when plans change or guests show up. This keto bread also works when cooking for fewer people or doubling for a crowd, which makes it a cozy, weeknight-friendly recipe worth saving for later.
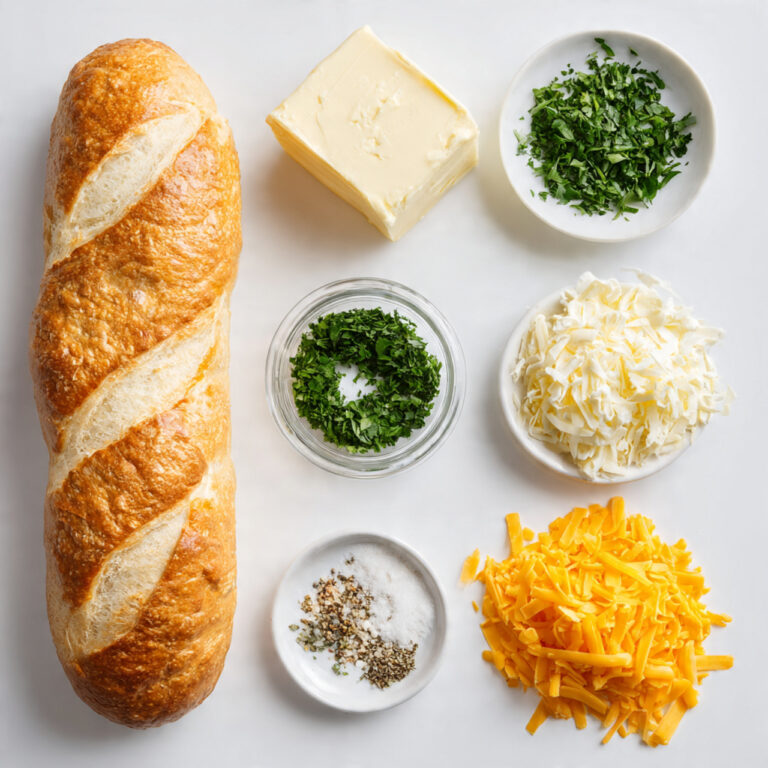
Ingredients

Instructions
Step 1: Preparation
Preheat the oven and line a loaf pan. In a bowl, whisk eggs until smooth and slightly pale. The mixture should look airy and smell clean. Smaller batches warm and mix faster, so keep an eye on texture.
Step 2: Main Cooking Process
Stir in melted butter and warm water. The batter will loosen and look glossy. Add almond flour, baking powder, and salt slowly, mixing until thick but pourable. For larger servings, mix gently to keep air inside.
Step 3: Combining Ingredients
Pour the batter into the prepared pan and smooth the top. Tap lightly to remove bubbles. A half-size loaf spreads quicker, while a double batch should be divided into two pans for even baking.
Step 4: Finishing & Final Simmer
Bake until the top is lightly golden and the center feels firm when pressed. Let it cool before slicing so it sets fully. Smaller loaves cool quickly, while bigger ones need extra resting time.
Why This Recipe Works for Busy Days
Do you save recipes but worry you won’t have time to actually make them? This bread keeps things simple. The prep is short, the bake time is steady, and the loaf lasts for days. It’s easy to make ahead, slice later, and reheat when needed. That makes it ideal for planning meals without pressure.
Tips & Tricks
Variations
Meaty Version
Do you want bread that feels more filling? Stir in finely chopped cooked turkey or beef before baking. Keep pieces small so the loaf still rises. For two people, add just a little; for larger groups, divide evenly between loaves.
Vegetarian Option
Are you craving more texture without meat? Add chopped olives or sautéed mushrooms. They bring moisture and flavor. Smaller loaves need less to stay light, while bigger batches handle a bit more without trouble.
Ingredient Swap
Are you out of butter? Use melted coconut oil in the same amount. It gives a mild taste and keeps the crumb soft. This swap works the same whether you’re making a half batch or baking for a crowd.
Flavor or Herb Boost
Do you like bread with more personality? Add dried herbs like rosemary or garlic powder. Use a light hand for small loaves and slightly more for double batches so flavor stays balanced.
Serving Suggestions
Storage Instructions
Recipe Timing
Nutrition Information
Are you curious about what each slice offers? Per serving, calories range from 160–190 with protein around 7–9 grams. Almond flour provides fiber and healthy fats. Values are estimates and change based on ingredients and portion size.
FAQs
Conclusion
Do you enjoy recipes that quietly fit into your routine? This keto bread is easy to return to because it’s forgiving, flexible, and comforting. You can tweak it, slice it, freeze it, and serve it in many ways without overthinking. It works for small households and bigger tables alike. Once it becomes familiar, it feels less like a recipe and more like a habit you trust. Keep it simple, make it your own, and let it show up whenever you need something warm and steady.
Keto Bread
Course: Bread Recipes4
servings10
minutes40
minutes175
kcalA soft, simple loaf made with almond flour. Easy to bake, easy to slice, and perfect for everyday meals.
Ingredients
2 cups almond flour
4 large eggs
¼ cup melted butter
1 tablespoon baking powder
½ teaspoon salt
¼ cup warm water
Directions
- Preheat oven and line a loaf pan.
- Whisk eggs until smooth.
- Mix in butter and water, then add dry ingredients gently.
- Pour into pan, bake until firm, and cool before slicing.