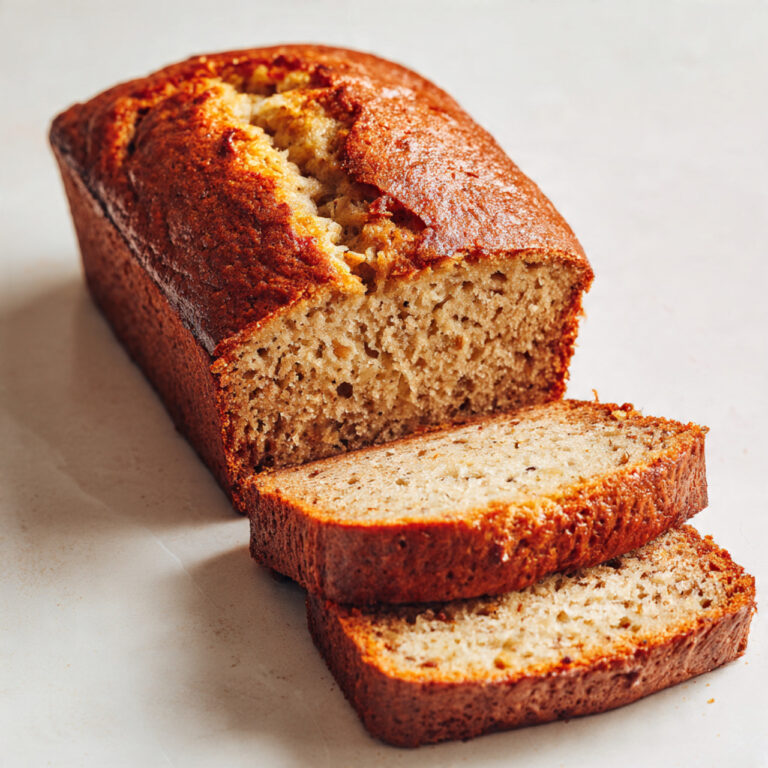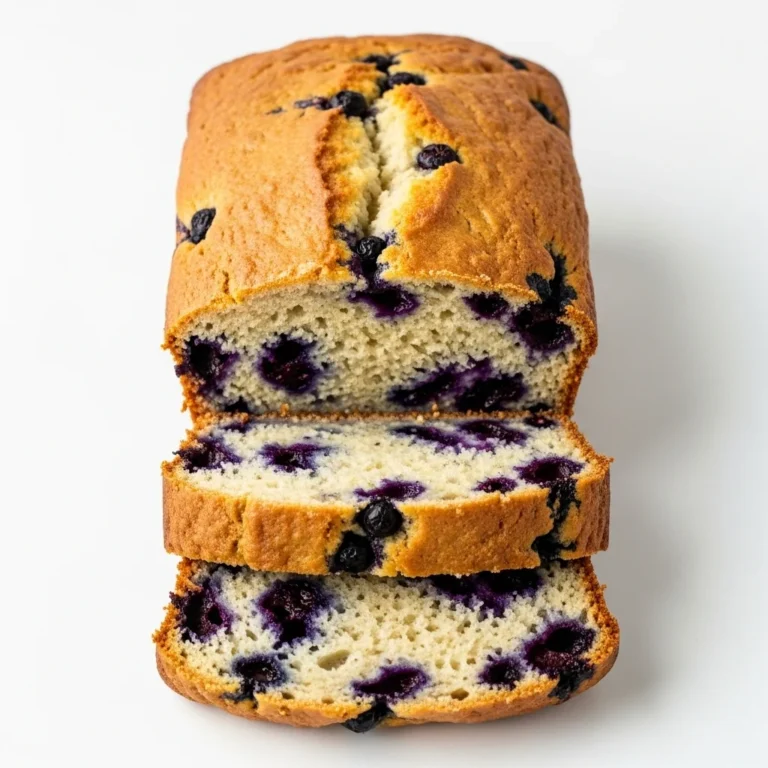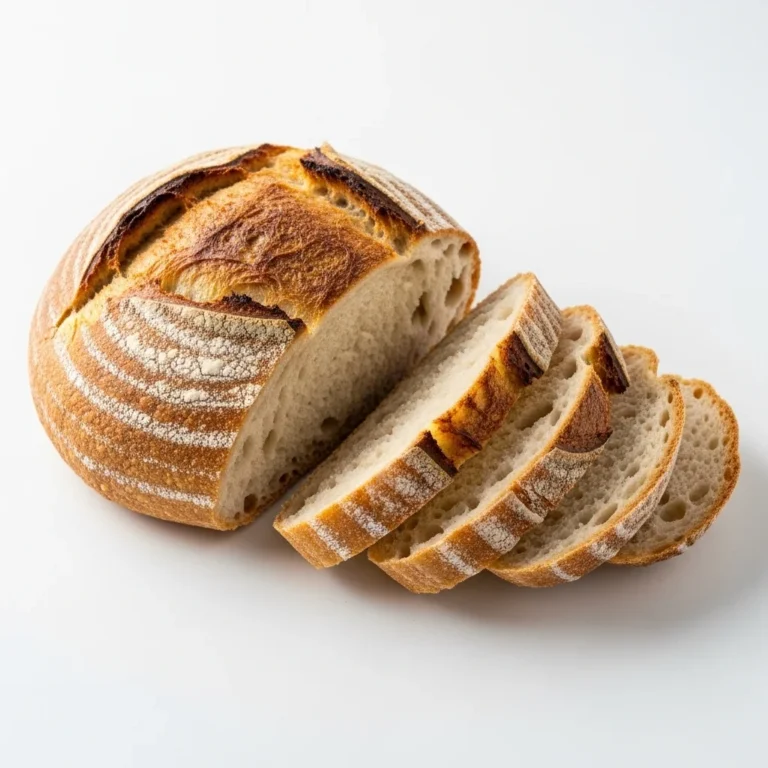
Gluten free sourdough bread
Ever feel like you miss the smell of fresh bread because gluten just doesn’t work for you? Gluten free sourdough bread brings back that warm, bakery-style comfort without the wheat. It has a gentle tang from the starter, a soft crumb, and a golden crust that feels just right for toast or sandwiches. I usually mix the dough in the afternoon and let it rise slowly while dinner is cooking. It’s the kind of loaf that fits into busy weeknights, slow weekends, and cozy cold evenings when you just want something homemade and simple.
Why You Will Love This Recipe
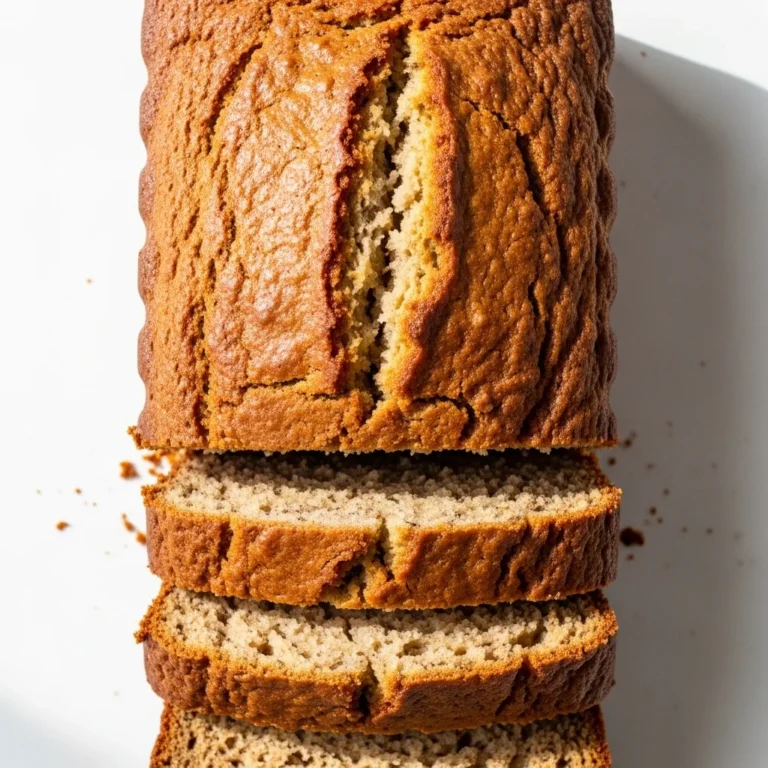
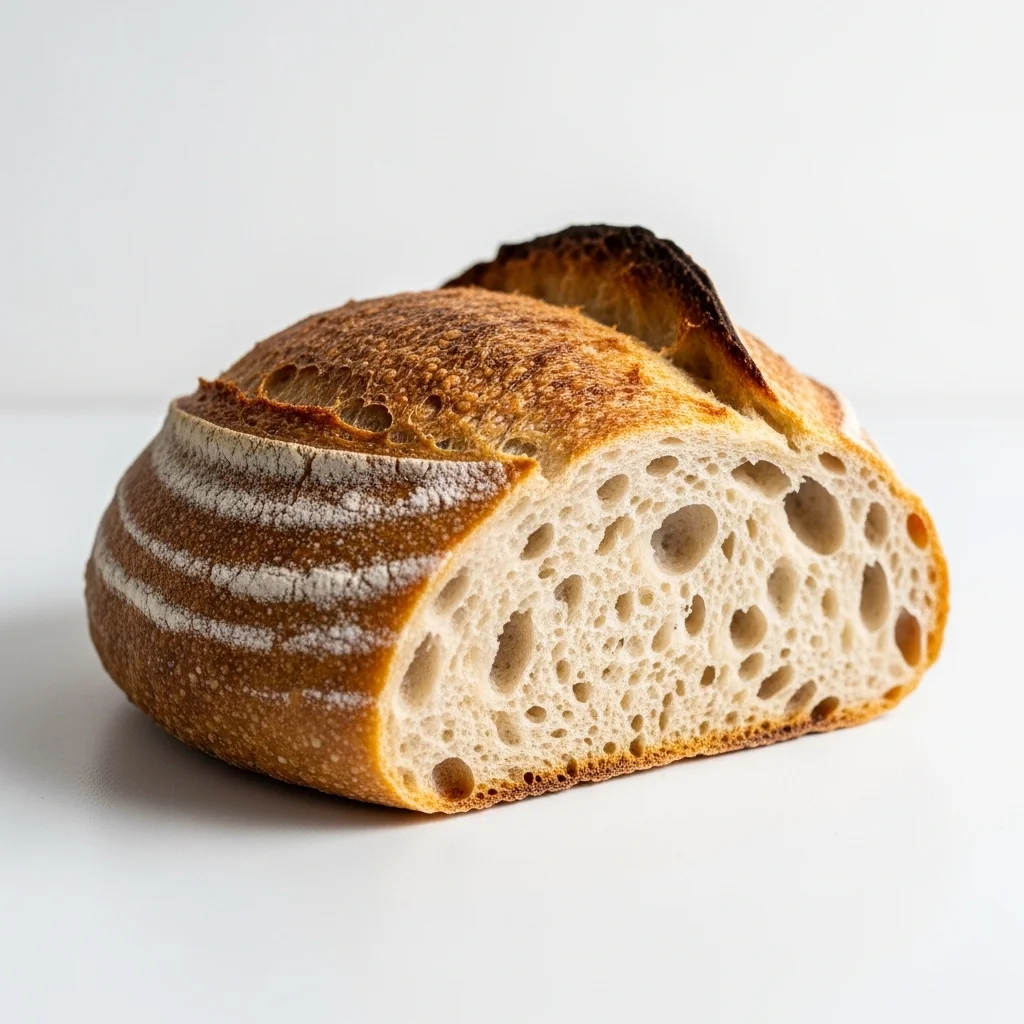
Looking for bread that feels homemade but not complicated? This loaf keeps things simple while still giving you that deep sourdough flavor. The texture is soft yet sturdy enough for slicing, which can be hard to find in gluten-free baking.
Want something cozy and freezer-friendly? This recipe makes four servings, perfect for a small family, and you can easily double it for guests. Leftovers toast beautifully, so nothing goes to waste.
Need a flexible recipe that works around your schedule? Gluten free sourdough bread rises gently with time, so you can mix it earlier in the day and bake when it suits you. It’s budget-friendly, filling, and easy to make your own.
Ingredients
Instructions
Step 1: Preparation
Worried about dry gluten-free dough? In a large bowl, mix warm water and psyllium husk powder first, letting it thicken slightly. Add the starter, olive oil, and honey. Stir gently until combined and smooth, creating a gel-like base.
Step 2: Main Cooking Process
Not sure how thick the dough should be? Add the flour blend and salt, mixing until a soft, slightly sticky dough forms. It won’t feel like traditional dough. Cover the bowl and let it rise in a warm spot for 3–4 hours.
Step 3: Combining Ingredients
Wondering how to shape gluten-free dough? Spoon the risen dough into a parchment-lined loaf pan and smooth the top with damp hands. Let it rest again for about 30–45 minutes until slightly puffed and airy.
Step 4: Finishing & Final Simmer
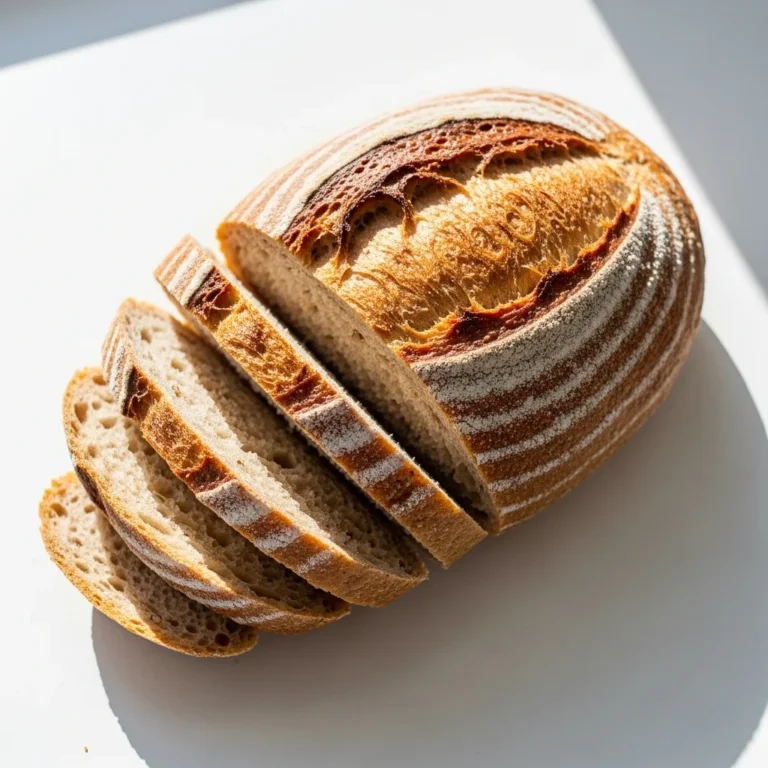
Concerned about baking it through? Bake at 200°C (400°F) for 45–50 minutes until the crust turns golden and sounds hollow when tapped. For 2 servings, use a smaller pan and check at 35 minutes; for larger batches, extend baking slightly.
Why This Recipe Works for Busy Days
Need something you can prep without standing in the kitchen all day? The rising time does most of the work while you handle other tasks. You can bake it in the evening and have slices ready for the next few days. If cooking for more than four, simply make two loaves at once and freeze one for later.
Tips & Tricks
Variations
Meaty version
Wish your bread felt more filling for dinner? Fold in small pieces of cooked, crumbled bacon before placing the dough in the pan. Keep the amount modest so the loaf rises well. For 2 servings, use just a few spoonfuls; double carefully for larger batches.
Vegetarian option
Looking for extra texture without meat? Add sunflower seeds or chopped olives into the dough. They bring a savory touch and slight crunch. If reducing the recipe for 2, cut the add-ins in half. For gatherings, increase evenly without overloading the batter.
Ingredient swap
Out of honey? Use maple syrup or even a teaspoon of sugar. The sweetness is mild and helps balance flavor. When scaling up for more than 4 servings, adjust sweetener gently and taste the dough to keep it subtle.
Flavor or herb boost
Want a more herby loaf? Stir in dried rosemary or thyme for a warm aroma. Keep it light so it doesn’t overpower the tangy base. If making two loaves for a bigger group, divide the dough and flavor each differently.
Serving Suggestions
Storage Instructions
Recipe Timing
Nutrition Information
Wondering what each slice provides? Each serving has about 220–280 calories and 4–6 g of protein. It also contains fiber from psyllium husk and small amounts of iron depending on the flour blend. Values are estimates and may vary based on ingredients and portion size.
FAQs
Conclusion
Thinking about baking again this weekend? Gluten free sourdough bread makes it easy to enjoy homemade slices without feeling left out. You can keep it plain, add herbs, or mix in seeds depending on your mood. It works for four people as written, but it’s simple to halve for two or double for a table full of family. Once you see how manageable it is, you’ll want to make it part of your regular routine. There’s something special about slicing into a loaf you made yourself and sharing it while it’s still warm.
Gluten free sourdough bread
4
servings20
minutes50
minutes280
kcalA soft and gently tangy loaf made without wheat. This bread is simple to prepare and perfect for toast, sandwiches, or serving with soup.
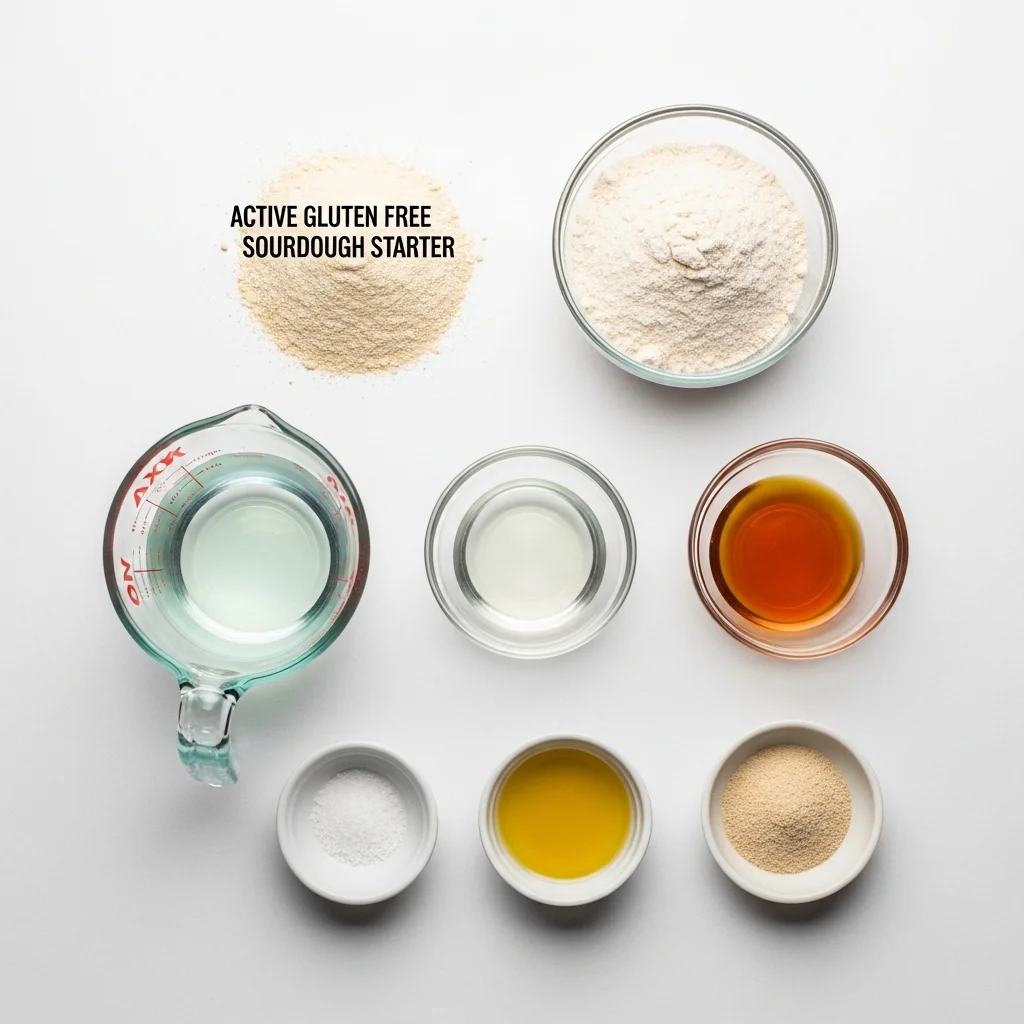
Ingredients
150 g active gluten-free sourdough starter (use 75 g for 2 servings; double for more than 4)
400 g gluten-free all-purpose flour blend (use 200 g for 2; increase evenly for larger batches)
350 ml warm water
2 tablespoons olive oil
1 tablespoon honey or maple syrup
8 g salt
1 tablespoon psyllium husk powder
Directions
- Mix warm water and psyllium husk powder in a bowl. Let it thicken slightly.
- Add starter, olive oil, and honey. Stir until smooth.
- Mix in flour blend and salt until a soft dough forms. Cover and let rise 3–4 hours.
- Spoon into a lined loaf pan. Smooth the top and let rest 30–45 minutes.