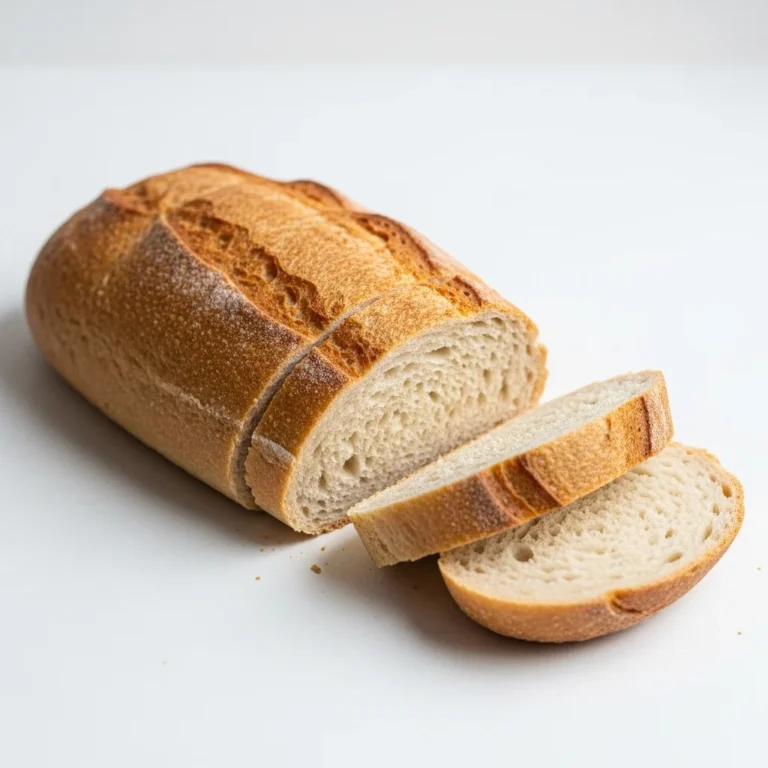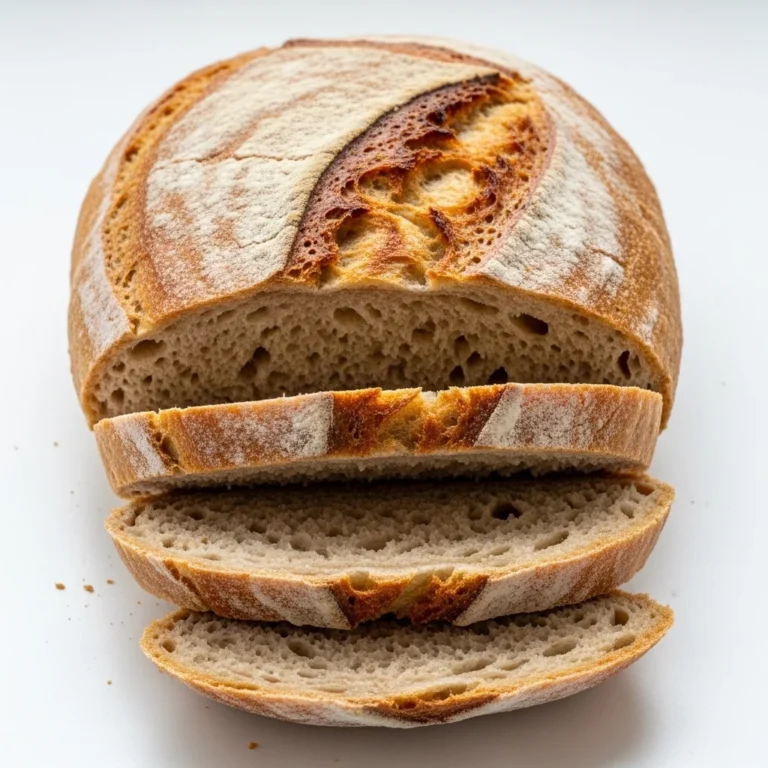
dutch oven bread
Wish you could bake fresh bread without fancy tools or complicated steps? Dutch oven bread is the kind of simple, cozy recipe that makes your kitchen smell like comfort. It’s made with just a few pantry staples, yet the crust turns golden and crisp while the inside stays soft and airy. I usually stir the dough together in the evening and let it rest while I handle the rest of the day. It’s perfect for busy weeknights, slow Sundays, or chilly evenings when you want something warm on the table without extra effort.
Why You Will Love This Recipe
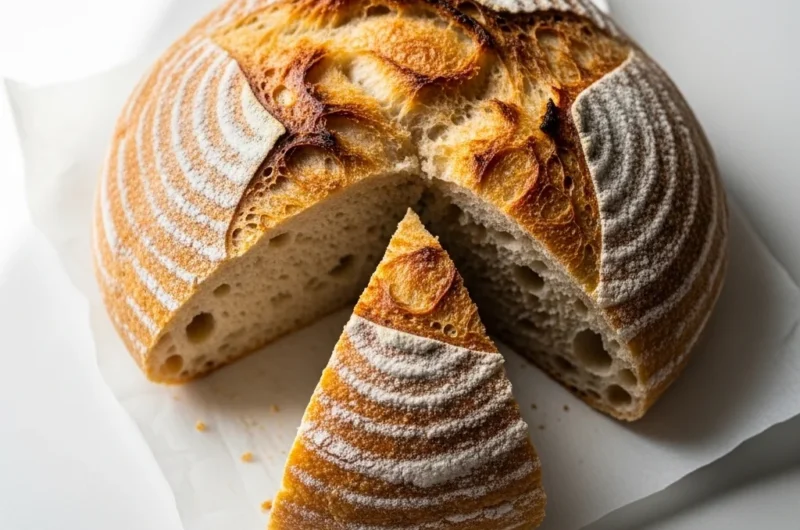
Looking for a bread recipe that feels special but fits into real life? This one checks all the boxes. The crust gets beautifully crisp thanks to the covered pot, while the center stays tender and chewy. It’s budget-friendly, made with basic flour, yeast, salt, and water. No mixer needed, no kneading marathon required.
Ingredients

Instructions
Step 1: Preparation
Not sure how simple this really is? In a large bowl, stir together flour, salt, and yeast. Pour in the warm water and mix with a spoon until a sticky, shaggy dough forms. Cover the bowl with a towel and let it rest at room temperature for 8–12 hours.
Step 2: Main Cooking Process
Concerned about shaping sticky dough? After resting, the dough will look bubbly and soft. Lightly flour your hands and gently shape it into a round ball. Place it on parchment paper and let it rest 30 minutes while your Dutch oven preheats at 450°F.
Step 3: Combining Ingredients
Wondering when it all comes together? Carefully place the dough with parchment into the hot Dutch oven. Cover with the lid and bake for 30 minutes. The steam trapped inside helps create that crisp outer crust while keeping the inside moist.
Step 4: Finishing & Final Simmer
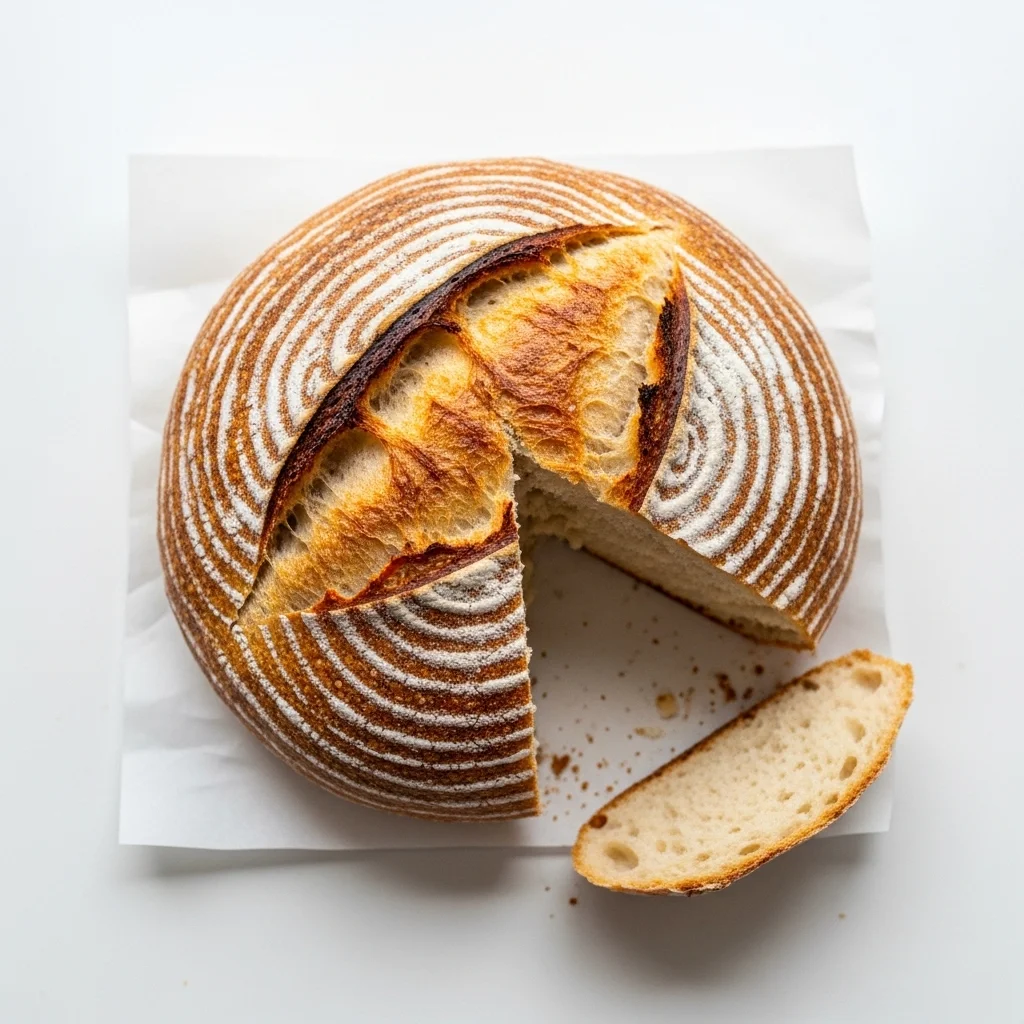
Unsure how to know it’s done? Remove the lid and bake another 10–15 minutes until the top is deep golden brown. The loaf should sound hollow when tapped. Let it cool at least 20 minutes before slicing so the inside sets properly.
Why This Recipe Works for Busy Days
Trying to fit baking into a full schedule? The long resting time does the hard work for you. You mix it once, leave it alone, and bake when ready. It stores well, reheats beautifully, and makes quick meals feel complete. Perfect for planning now and baking later.
Tips & Tricks
Variations
Meaty Version
Want to turn it into a heartier loaf? Mix in ½ cup cooked, crumbled bacon before the first rise. For 2 people, use about ¼ cup. If doubling the recipe, double the bacon as well. The smoky flavor makes it great for sandwiches.
Vegetarian Option
Looking for extra texture without meat? Add ¼ cup sunflower seeds and ¼ cup chopped olives. For smaller portions, cut both in half. For larger groups, increase evenly. This gives a savory bite that pairs beautifully with soups and salads.
Ingredient Swap
Out of all-purpose flour? Use half whole wheat and half all-purpose for a deeper flavor. For 2 people, adjust both flours equally. If feeding more than 4, keep the same ratio while increasing total quantity.
Flavor or Herb Boost
Craving more aroma? Stir in 1 teaspoon dried rosemary or thyme into the dry ingredients. For smaller batches, use ½ teaspoon. For larger loaves, increase herbs gently so they don’t overpower the bread.
Serving Suggestions
Storage Instructions
Recipe Timing
Nutrition Information
Per serving (1 of 4 slices):
Calories: 180–220
Protein: 5–7g
Contains iron and small amounts of B vitamins.
Values are estimates and may vary depending on flour type and portion size.
FAQs
Conclusion
Want a bread recipe you’ll actually make again? This dutch oven bread keeps things simple while delivering that golden crust and soft center we all love. It fits into busy days, stretches for small or big households, and welcomes little changes like herbs or seeds. Once you try it, you’ll see how easy homemade bread can be. Save it for later, bake it on a quiet evening, and enjoy the simple comfort of warm slices shared around your table.
dutch oven bread
4
servings10
minutes40
minutes180–220
kcalA simple, no-knead bread with a crisp crust and soft inside. Made with just four basic ingredients and baked in a Dutch oven for cozy, homemade flavor.
Ingredients
3 cups all-purpose flour (use 1½ cups for 2 people; double for 8 people)
1½ teaspoons salt
½ teaspoon active dry yeast
1½ cups warm water
Directions
- In a large bowl, mix flour, salt, and yeast. Add warm water and stir until a sticky dough forms. Cover and let rest 8–12 hours at room temperature.
- Shape the dough gently into a round on floured parchment paper. Let it rest 30 minutes while preheating the Dutch oven at 450°F.
- Place dough (with parchment) into the hot pot. Cover and bake 30 minutes.
- Remove lid and bake 10–15 more minutes until golden brown. Cool at least 20 minutes before slicing.